Last time I was in KC, Jess (my sister) and I went shopping at JoAnn's for fabric. We didn't find a fabric we loved that was immediately available, but we did find a special order fabric that was perfect. We placed the order right away and waited patiently for it to arrive.
Many months later, upon arrival in KC, Jess & Bryan (brother-in-law) had done all the hard work (shopping for supplies). We had our plywood, batting, fabric & staple gun ready-to-go. We started by stapling the batting onto the plywood. We stapled the top first, than the opposite side. Then we moved to the sides. We alternated at that point, to make sure there was no loose batting or creases.

After the batting was on, we added the fabric. The fabric had a pattern and we want to be sure to have it level, so we used the pattern as a guide along the first stapled edge. We moved from top, to bottom, then sides (alternating for an even, non puckered look)

This is where it gets a little more complicated. In order to "hang" the headboard onto the wall, we had to create a cleat. I took picture to make it more clear....
Here we (Bryan) are cutting the wood at a 45% angle with a mitre saw. The wood is almost the same length of the actual headboard (on a Queen bed that is about 60 inches).

One part of this cut wood will be attached to the wall, while the other will be attached to the headboard. Here is a gratuitous action shot. Saw...baby...saw!

Here is the piece attached to the headboard.

Special Tip: On the last two to three inches of wood on either end of the board, my brother-in-law skimmed off a bit of width. This cut-away would accommodate the bulk of batting and fabric and would allow the wood would lay flush against the headboard, instead of bowing out.
In addition to the cleat, Bryan added a couple of boards across the middle of the headboard. This way the board wouldn't bend and move.

Here is the other piece that was attached to the wall. You can see where the piece on the headboard will slide right onto the piece on the wall.

Jess & Bryan chose to do one extra step by adding a frame to their headboard. They simply cut some wood to size and painted it.
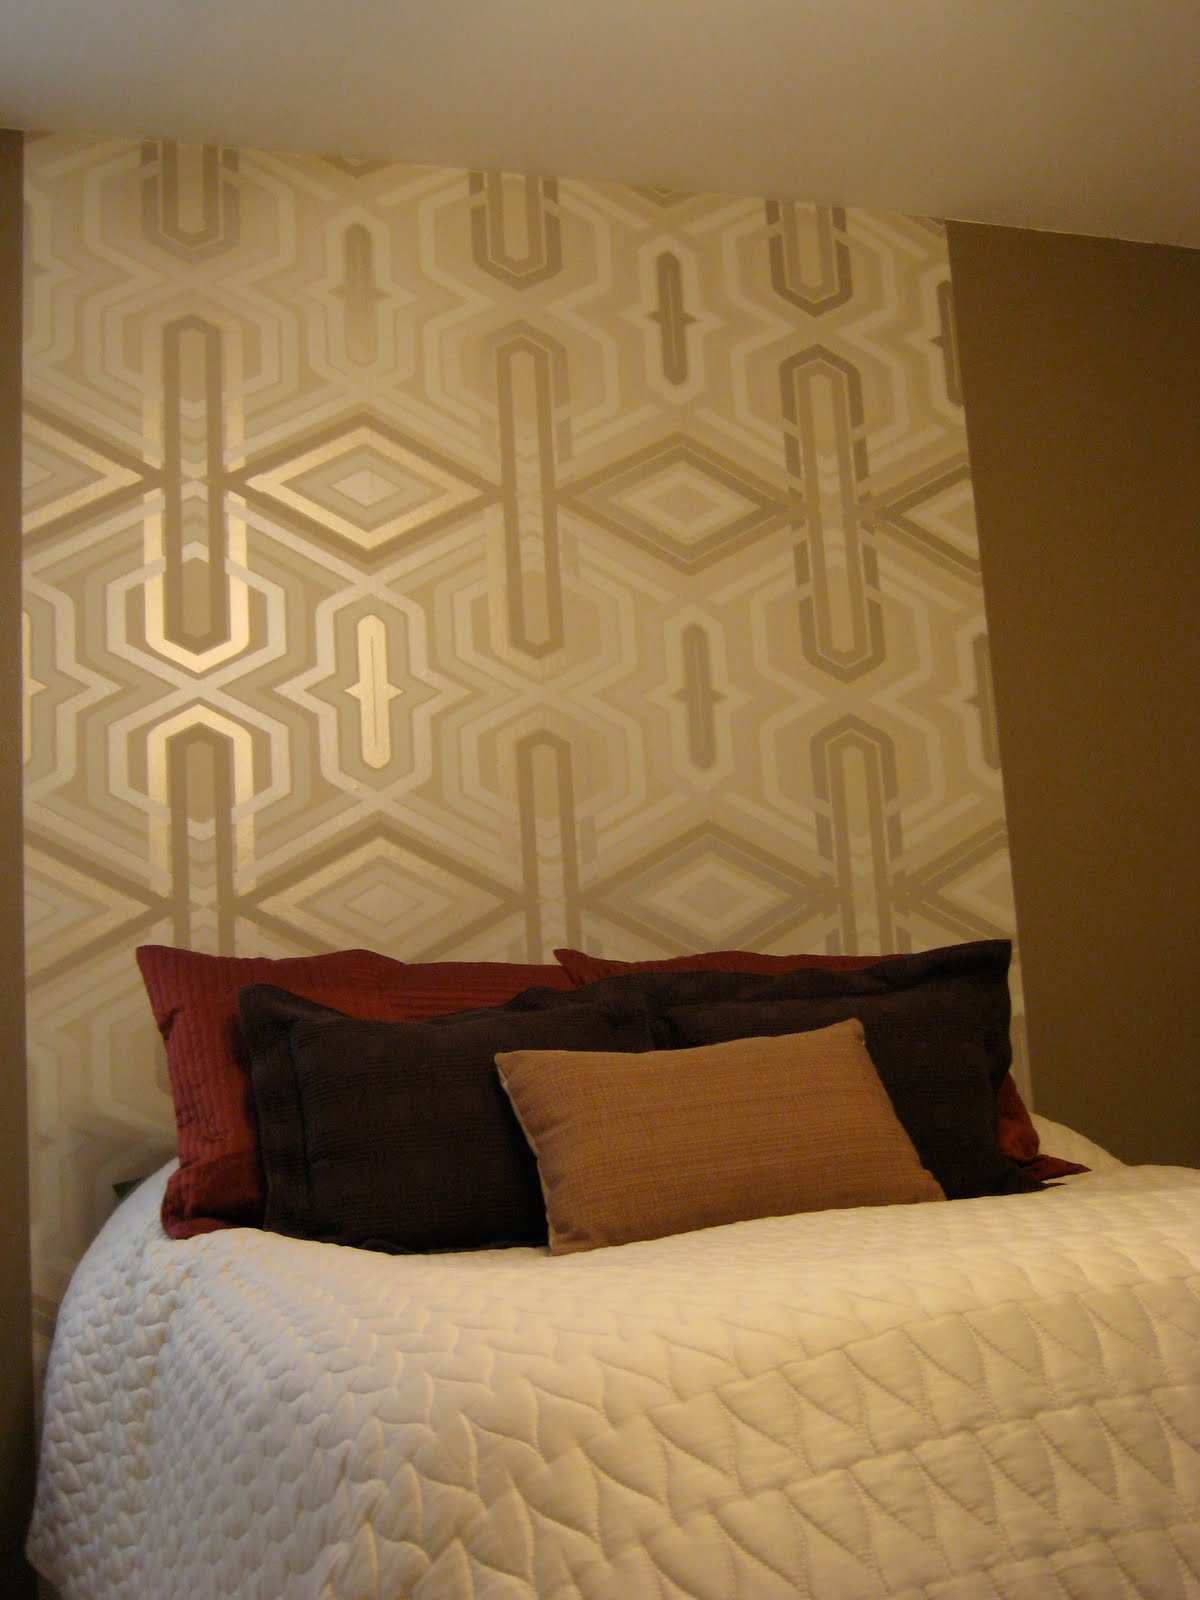
Here is the finished headboard!